Sanctus Clypeus Guide — Crimson Moon's Hub, Lore and Upgrades
Sanctus Clypeus, the Divine Shield, is the stronghold of the Knights of the Crimson Moon and your hub between hunts. Here is everything it does — and its lore.
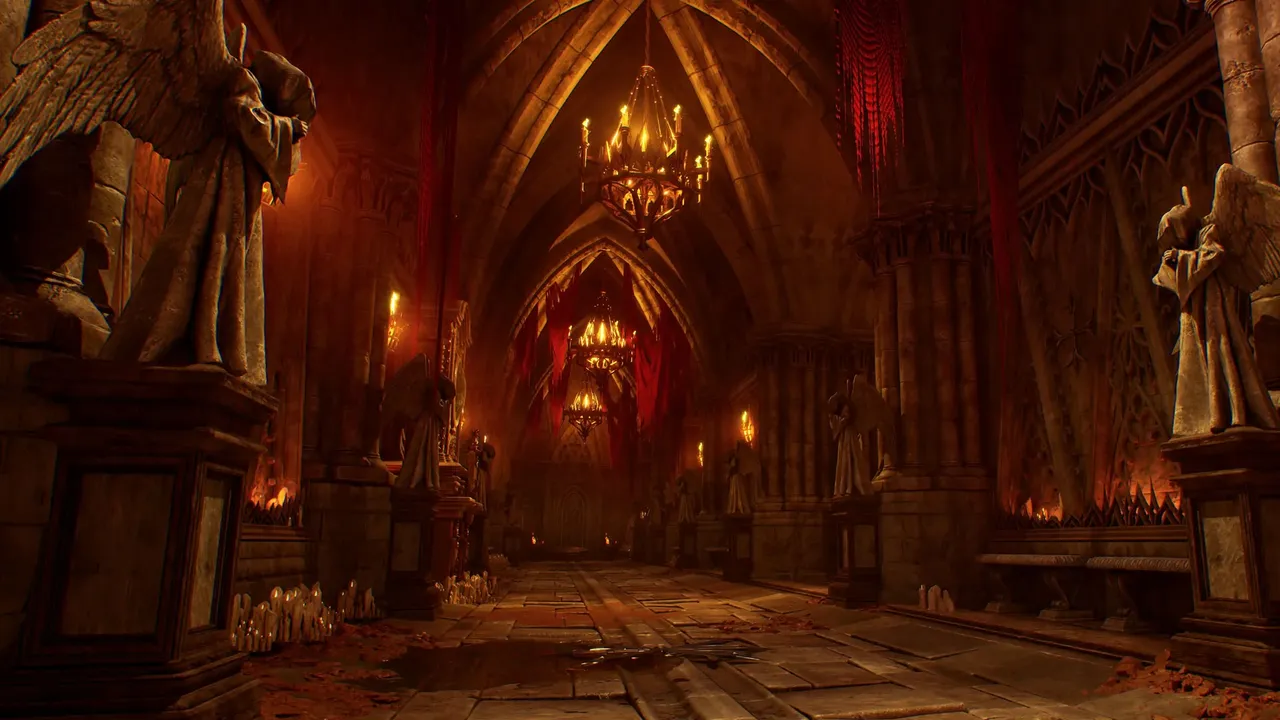
What is Sanctus Clypeus?
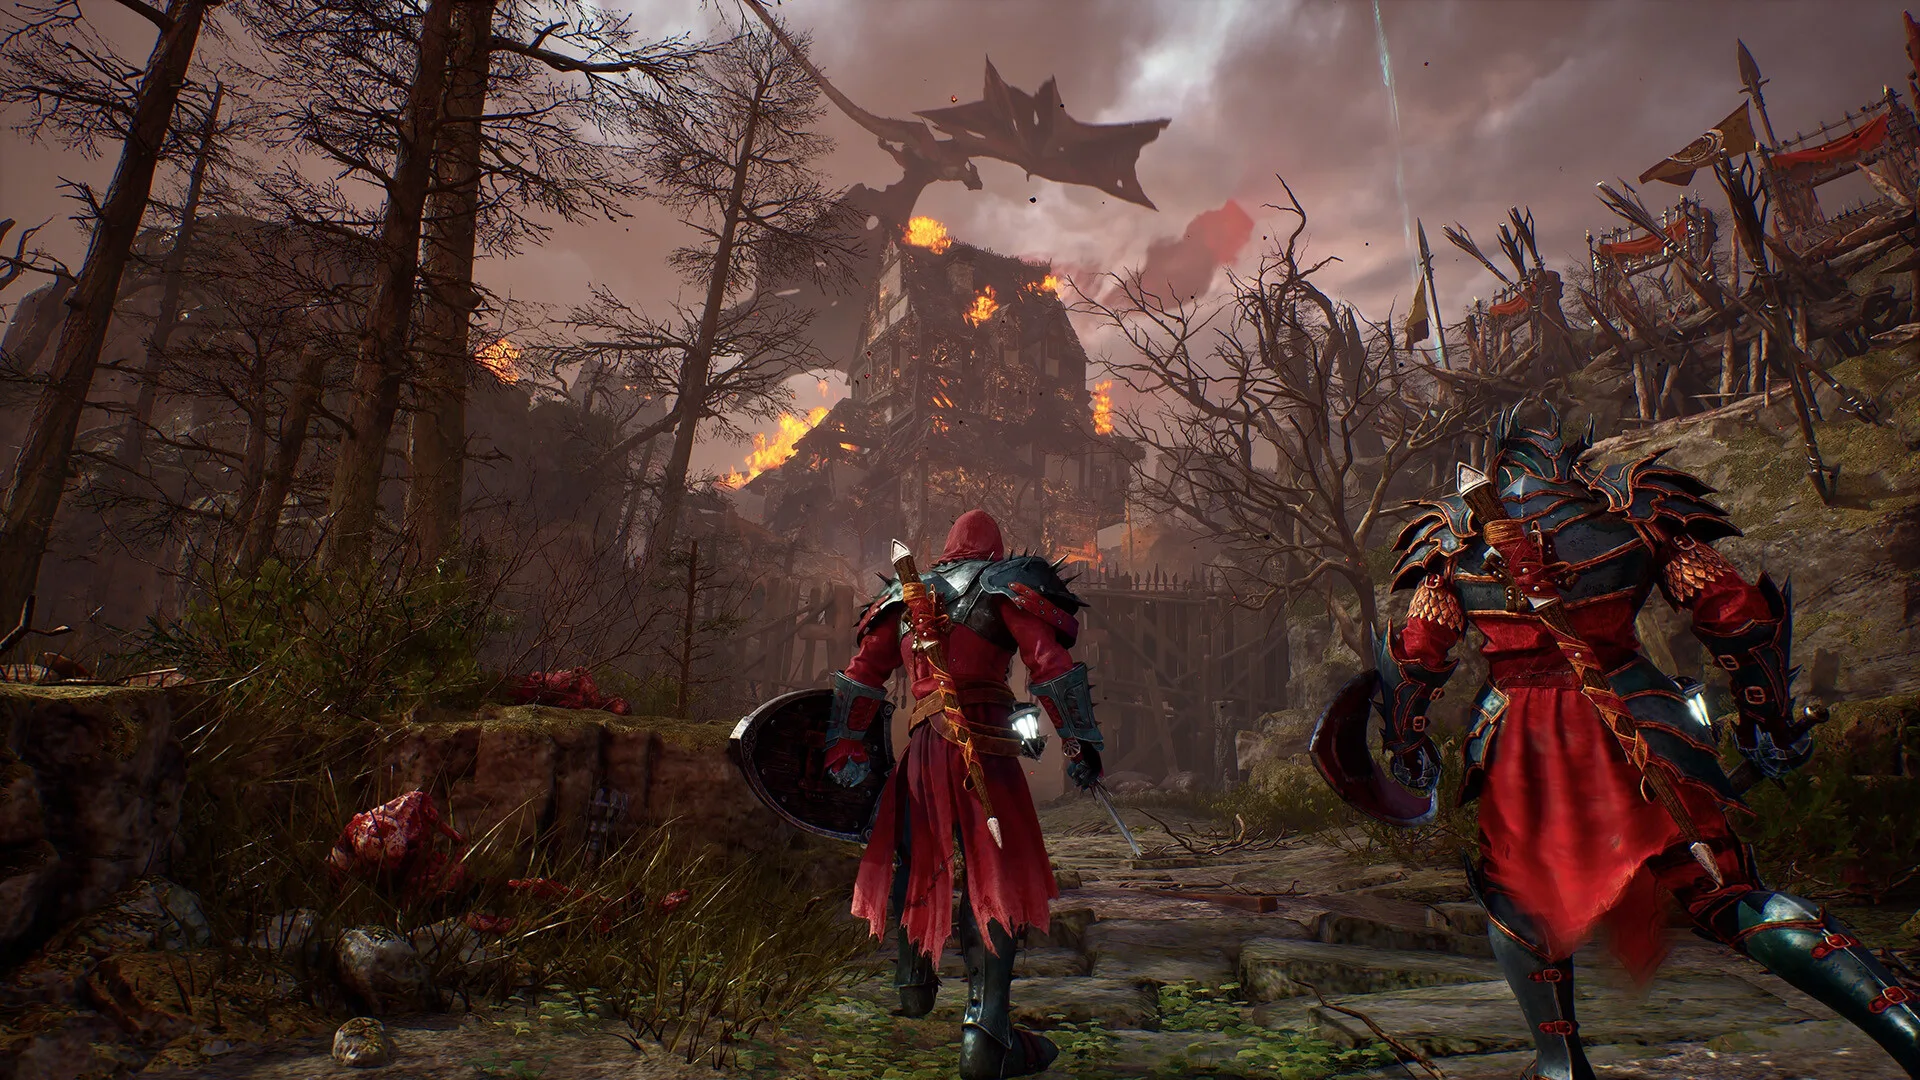
Sanctus Clypeus — known as the Divine Shield — is your central hub in Crimson Moon. Officially, it is the headquarters of the Knights of the Crimson Moon and the sanctuary Nephilim return to between hunts: an ancient stronghold where you recover, strengthen your arsenal, prepare equipment, and plan your next assignment before venturing back into the fallen city of Gildenarch.
What was Sanctus Clypeus before?
The stronghold was once known as Crimson Hall, and it still serves as a place of study for the Lunitarian Church. Today the Knights of the Crimson Moon and the Church exist side by side in an uneasy alliance, working together toward a common cause — the framing that gives Crimson Moon its gothic-religious identity.
What can you do between hunts?
After completing a hunt you return to Sanctus Clypeus to regroup. Officially, the hub covers the full preparation loop:
- Manage gear across your nine equipment slots
- Upgrade equipment and unlock new items
- Refine your build before the next Ward
- Speak with key allies and NPCs
- Plan your next assignment at the War Table
Who are the hub’s key NPCs?
Post-launch documentation has confirmed a cast of named characters around the hub — two of them hard-verified by the game’s own achievement lists on Epic and Xbox:
| NPC | Role | Evidence |
|---|---|---|
| Gajov Resnyk | The Blacksmith — upgrades weapon and shield rarity (upgrade guide) | Platform achievements name him directly (“Gajov Make Strong”: upgrade any weapon or shield to rare or higher quality) |
| Mereda | The Archivist (the official lore text’s title; also called the Librarian) — you present lore scrolls to her on return, and the official hub map lists the Archivist station’s role as the run-only “Power-ups and Boons” supplier | Platform achievements (“Meet Mereda”, via the Librarian Briefing) + official support docs |
| Knight Commander Gallant Alexander | Guides you through each new mission at the War Table | Official support docs (“Knight Commander Gallant Alexander will be your guide with each new mission”); bounty-quest reports from community guides |
| Lotte | Hub ally | Community-reported (single source so far) |
Mereda’s scroll-for-Boons loop is the reason to grab every lore scroll you see mid-run — scrolls survive death, as the death guide tables — and those unlocks feed directly into your build options, while Gajov’s rarity upgrades are where purified loot becomes permanent power.
How does Sanctus Clypeus fit the run loop?
Every hunt begins at Sanctus Clypeus: prepare here, enter one of Gildenarch’s Wards, fight through its replayable missions and boss, and return with loot to feed permanent progression. The hub is the “seek sanctuary” half of the loop the developers describe — the calm counterpart to the savage runs.
Should beginners customize at the hub?
Yes — the hub is where a beginner build actually takes shape. Leave Sanctus Clypeus with one coherent idea (a damage direction, a defensive layer, a healing answer) rather than the rarest drops, and let the run’s temporary Boons refine it. And when a hunt goes wrong, the return trip is where you decide the precise next change — gear, Boons, or the boss matchup itself.
Related Articles
bosses
E'frae Boss Guide — Crimson Moon's Dry Rot King World Boss
E'frae, the Dry Rot King, is Mission IV's other Dead God World Boss, fought in the Defiled Cemetery. Identity, fight footage, drops and preparation.
bosses
Mahkteah Boss Guide — Crimson Moon's Lord of Perdition World Boss
Mahkteah, the Lord of Perdition, is one of Mission IV's two Dead God World Bosses, fought in the Ancient Chamber. Identity, structure, drops and prep.
guides
Crimson Moon Boons Guide — Stacking Rules, Sources and Best Picks
Boons reshape every Crimson Moon hunt. Here is how the four Boon sources work, the full stacking rules, and the early favourite picks from guides.
Was this helpful?
Thanks for the feedback!