Crimson Moon Combat Guide — Light Attacks, Heavies and Weapon Arts
Light attacks, charged heavies, Weapon Arts and parries explained — how Crimson Moon's fights actually work, per the official docs.
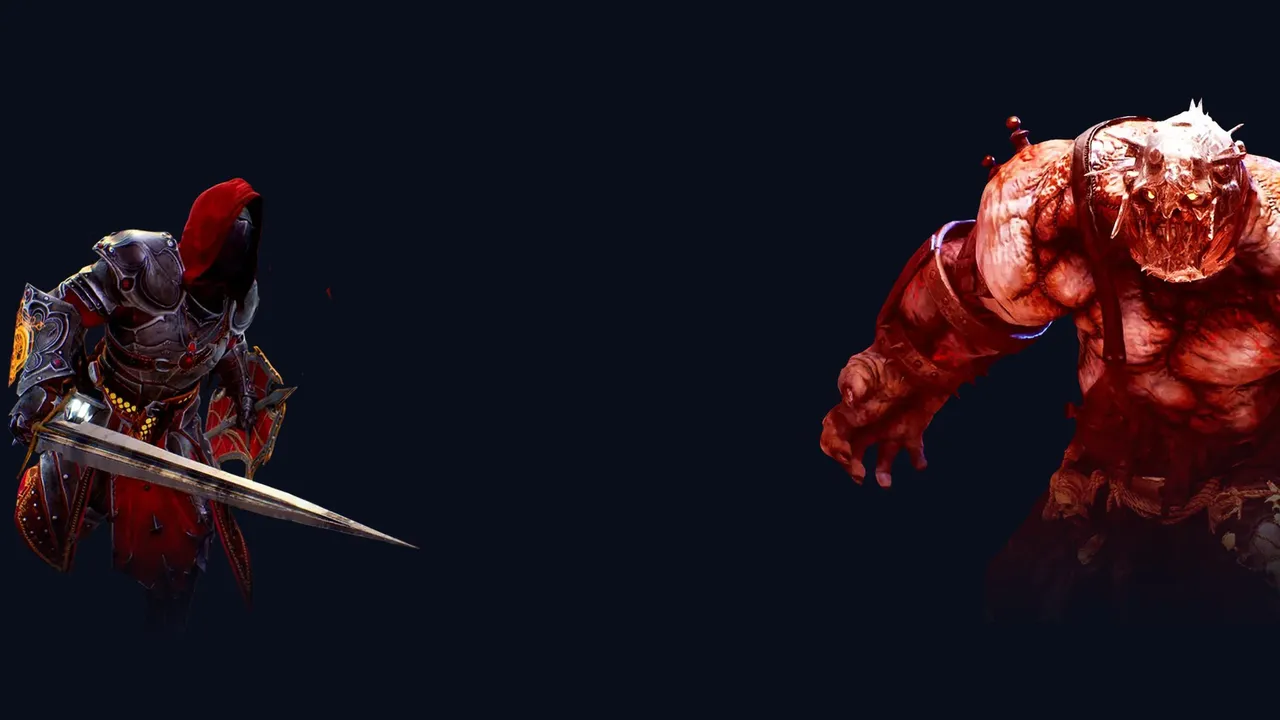
What are the three attack types?
Combat in Crimson Moon has three main forms of attack: Light, Heavy, and Weapon Arts, as laid out in the official support docs. Each answers a different moment of a fight, and the full input map for keyboard, Xbox, PS5 and Steam Deck is in the controls guide.
When should you use light attacks?
Light attacks are the official “bread and butter”: minimal damage, but the best tactic for staying mobile and repositioning mid-fight. Sequences of them chain into attack sequences, and — critically — light attacks can be canceled into a dodge or parry, letting you bail out of a swing when an enemy answers. They are weak against shields and other defenses, so use them to poke, to clear small mobs, and to stay uncatchable.
How do heavy attacks work?
Heavies are “big commitments with big pay offs” — massive damage, best spent when an enemy is not focused on you or is depleted. Two official rules shape them:
- Hold the button to charge for more damage output.
- Long start-up time means a longer window for enemies to punish you.
The commitment cuts both ways; a charged heavy into a boss’s recovery window is the payoff moment the whole kit builds toward.
What do sprint attacks do?
Sprinting before a light or heavy attack turns it into a powerful lunge that can catch enemies off guard — an official tip worth drilling early. Mind the distance: over- or under-shooting a sprint attack leaves you exposed to counterattacks.
What are Weapon Arts?
Weapon Arts are the magical abilities imbued in many weapons. They cost mana to use and can turn a fight from a distance: taking down enemies at range, inflicting status effects, and clearing tough mobs. Some Weapon Arts also grant power-ups to you and your allies. They are one of the four build pillars — see the builds guide for how they combine with gear and Boons.
How do you parry?
Parry is the high-risk, high-reward tool. Timed just before an enemy attack hits, a parry staggers the enemy and fills your Angelic meter — the resource behind your angelic transformation. Miss the timing and you not only take the hit but lose precious stamina on top, leaving you exposed to whatever follows. The official advice: observe enemy movements and time parries deliberately, not reflexively.
What do red auras mean?
Some enemy moves are unblockable, indicated by a red aura — dodging is the best answer to them. Conversely, dodge-spam has its own cost: every dodge drains stamina and can dodge you into a follow-up attack. Like parrying, dodging rewards knowing enemy patterns — which is exactly what the boss guides are for.
How does stamina gate all of this?
Dodging, jumping, parrying and sprinting all draw on a limited stamina pool — limited, in the official telling, by the Spire’s weakening effects on you as a Nephilim. Efficient use of movement is what keeps you alive; the movement rules and inputs are covered alongside the rest in the controls guide.
Related Articles
bosses
E'frae Boss Guide — Crimson Moon's Dry Rot King World Boss
E'frae, the Dry Rot King, is Mission IV's other Dead God World Boss, fought in the Defiled Cemetery. Identity, fight footage, drops and preparation.
bosses
Mahkteah Boss Guide — Crimson Moon's Lord of Perdition World Boss
Mahkteah, the Lord of Perdition, is one of Mission IV's two Dead God World Bosses, fought in the Ancient Chamber. Identity, structure, drops and prep.
guides
Crimson Moon Boons Guide — Stacking Rules, Sources and Best Picks
Boons reshape every Crimson Moon hunt. Here is how the four Boon sources work, the full stacking rules, and the early favourite picks from guides.
Was this helpful?
Thanks for the feedback!